Introduction:
Imagine having all your devices connected via one smart voice assistant giving you the ability to turn things on or off as you wish. Well, you can do exactly that. Read on to see how you can control any electrical appliance with the help of Google Assistant.
What is Google Assistant?
Before, we proceed, let’s talk about the obvious question; what exactly IS Google Assistant?
Google Assistant is Google’s artificial intelligence-powered virtual assistant. Initially, when it was launched it was an extension “Google Now”. This virtual assistant is available on mobile and smart home devices. What sets it apart from the previous Google Now is the ability to engage in two-way conversations.
Image Courtesy: assistant.google.com
Google Now focused more on personalized elements such as your likes/dislikes, your travel plans, your meeting schedules, etc. Google assistant functions on the same personalized elements but also provides voice control. You can use either text or voice command to relay information to Google Assistant.
This leads us to the next question: What can Google Assistant do?
Google Assistant allows you to submit commands, perform searches, and control devices via voice command. You can use the “OK Google” or “Hey, Google” terms to kick-start any task. The whole point of the smart assistant is to give you the ease of use so instead of typing out commands you simply have to say them out loud.
Image Courtesy: assistant.google.com
Google Assistant can:
- Help you control your electronic devices and smart home
- Set events in your calendar and access information from your calendar
- Perform searches for you, look for bookings, directions to your destination, weather, and news updates
- Play music for you
- Connect to your Chromecast to control your TV/devices.
- Set timers and reminders
- Send messages to your contacts
- Make appointments and bookings
- Open and close apps on your mobile device
- Read text notifications to you
- Provide real-time translations
- Play games
With Google Assistant’s ‘Continued Conversation’ feature you don’t have to repeat “OK Google” or “Hey Google” to activate Google Assistant before each command. Instead, the assistant remains active and listening so you can continue asking questions or giving commands. Google can also recognize the voice profiles of different people, it can also recognize your voice and respond according to your profile. This is what makes Google Assistant such a powerful smart voice assistant, it is more than a reactive type but understands context to give a more informed/smart response.
This brings us to our next topic of discussion, how can we connect apps on different devices to each other so they may communicate? The answer: IFTTT.
What is IFTTT?
IFTTT is named after the “If This Then That” logic statement. Basically, IFTTT is a free, web-based service that allows you to connect apps, devices, and services so they may communicate with one another and perform actions. Essentially, there are a number of things your apps may not be able to do on their own which they may be able to do in collaboration with other services/apps. This is where IFTTT comes in handy by bringing such apps together.
How Does IFTTT Work?
IFTTT works by making the use of “applets”. An applet is basically a small application that performs a specific task. They are composed of ‘triggers’ and ‘actions’ Triggers will tell the Applet to start and the action is the end result of the Applet. An applet is more of a conditional statement, i.e. If This Then That. Once you add an applet it will create a course of action between two of your apps.
Applets can perform a certain action when you tell them to, via widgets, they can perform multiple actions at a time, and they can also run when a specific condition is met.
Image Courtesy: ifttt.com
How To Use IFTTT?
IFTTT is perfect for those trying to cut down on time consumed on manual tasks and automating them. To use IFTTT, you simply need to sign up for a new account from your web browser or download IFTTT for iOS/Android.
Next, think of the apps you use on a daily basis to perform tasks that would be much better off if performed automatically. Then search up whether or not these apps/gadgets are supported by IFTTT.
Some popular apps that can work with IFTTT include Medium, Tumblr, WordPress, Mailchimp, Dropbox, Google Drive, Facebook, Messenger, Gmail, Soundcloud, Wikipedia, Spotify, YouTube, etc. You can also connect to smart appliances such as those from Samsung, LG, GE, etc. IFTTT calls these apps/gadgets as ‘services’
Let’s say you sometimes forget to check up on weather updates and you would like to be informed beforehand of any potential rainy days. In this case, you can use IFTTT by connecting your email and any IFTTT supported weather forecast app to set up an applet. You can then use IFTTT to send you an automated email whenever the weather forecast predicts rain.
Using NodeMCU to create a Google Assistant Controlled Smart Switch
Next, we’ll be discussing how you can use NodeMCU to create a Google Assistant controlled switch. We’ll be making use of the NodeMCU, the IFTTT service, and Google Assistant in this tutorial.
Components Required:
- NodeMCE
- Relay 5V DC
- Transistors BC547
- LED
- HLK-PM01 AC-DC
- AC Plug and AC source outlet
- DC Power Supply
- USB cable (for NodeMCU)
You will also need basic tools such as wire cutters, soldering iron, screwdrivers, multimeter, and AC insulation tape.
Setup Blynk App
- First off, download the app to your smartphone.
- Once downloaded open the app and log in using your email/FB.
- Once you log in, create a ‘’New Project’. Name the project as required.
- Next, choose the device you’re connecting i.e. NodeMCU. And the type of connection
- You will receive an Auth Token via email. Copy it.
Image courtesy: instructables.com
Next, you will have to set up the switch on your Blynk app.
- Go to the ‘Widget Box’ by tapping anywhere on the canvas
- Drag and drop the “button” on to your screen.
- Next, go to Button settings and change the slider from “push” to “switch” settings, select any pin you’d like for this project.
- Click on “Play” the small triangle at the upper right corner.
Image courtesy: instructables.com
In the final step of setting up your Blynk app, you need to set up your NodeMCU and Blynk on Arduino IDE.
- Install the Arduino IDE: https://www.arduino.cc/en/Main/Software
- Install the NodeMCU library, watch this tutorial to see how: https://www.youtube.com/watch?v=RVSCjCpZ_nQ
- Install the Blynk library: ttps://github.com/blynkkk/blynk-library
- Finally, you will have to open your Arduino IDE and go to Tools -> Board ->NodeMCU 1.0
Programming:
- First off, connect your NOdeMCU to your PC using your USB cable
- Next, open the Device Manager on your computer and note the COM port number
- Next, go to your Arduino IDE -> Tools -> Port and select the port number you wish.
- Now, go to File -> Examples -> Blynk -> Boards_WiFi -> Esp8266_Standalone
- Now you simply need to add the AuthToken code copied earlier from the Blynk app, add the name and password as required.
- Finally, press the upload button. This may take some time to complete.
Take note of the connections in the diagram above and do the same accordingly. Be careful while you’re making connections. It’d be best to do this in the presence of a more experienced individual if you’re a beginner.
PCB Designed in Easyeda:
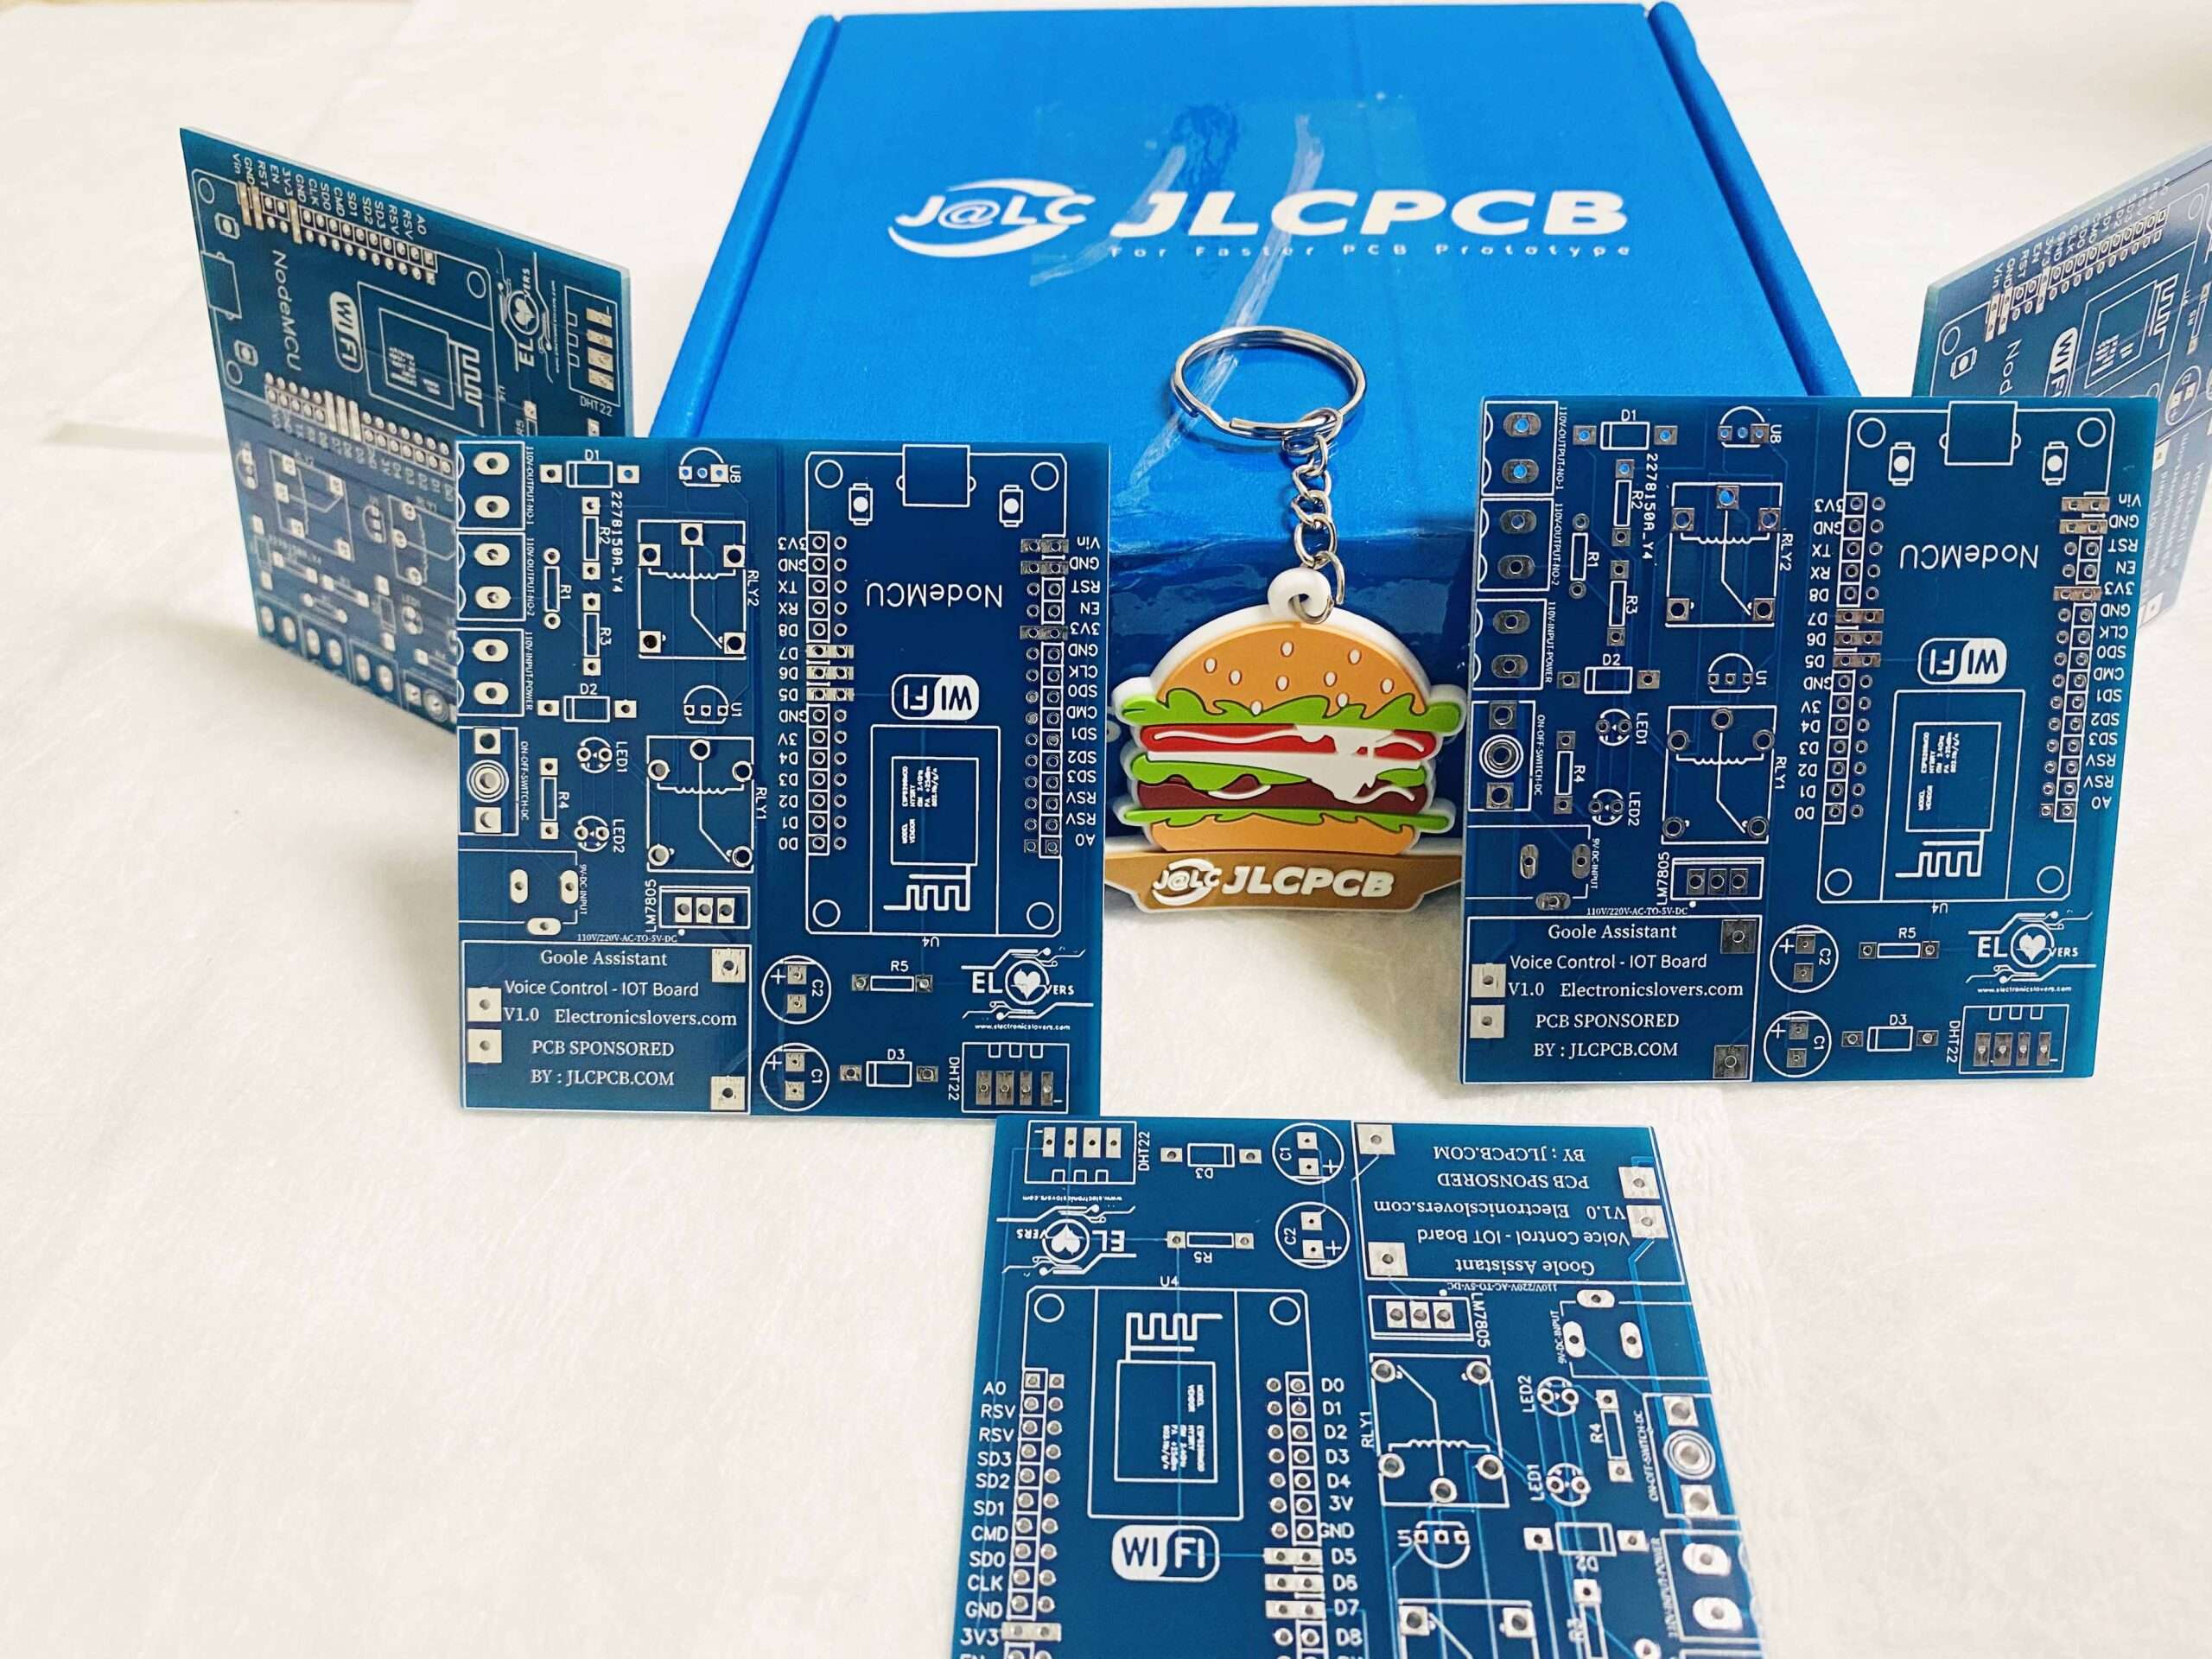
Watch PCB Unboxing Video
PCB Components Assembling:
Connecting your device to Google Assistant
In the final step, you need to connect your device to Google Assistant so you may control it via the internet. For this:
- First go IFTTT’s official site: https://ifttt.com
- Signup with your Google account
- Once you are signed in, click on the “My Applets” button and select “New Applet”.
- Next, click on “This” and a search bar will appear. Search for “Google Assistant”.
- Once in, click “connect”.
- Next, you’ll have to choose your trigger. We’ve selected the first option “Say a simple phrase”. You will essentially say “OK Google” followed by the phrase you choose. This will act as a trigger.
- Next, complete the trigger fields as required and click “Create Trigger”.
- Next, click on”that”.
- In the search bar search for “Webhooks” and connect. Then fill in the data to make your web request. See the attached image for guidance
Image courtesy: instructables.com
- In the URL section, “add https://188.166.206.43/Auth Token/update/D0” (The Auth Token should be your own). For turning on use [“1”].
- Finally, click “finish”
- To finalize, create another applet following the same steps for turning the light “off”. Except, instead of [“1”] use [“0”] to turn off.
Watch Final Project Video
That’s all, your project is now complete!
JLCPCB, more formally known as JiaLiChuang Co., Limited based in Hong Kong is a PCB prototype and high-tech manufacturer, dedicated to providing its customers with high-quality PCB prototypes and small-batch PCBs in a cost-effective way.
With over 14 years of experience in the field and having catered to over 800,000 customers worldwide, and now receiving over 18,000 orders online daily, it’s safe to say that JLCPCB know their craft well. JLCPCB is ISO 9001:2015, ISO 14001:2015, ISO 9001:2015, and RoHS certified, making it extremely reliable.
They are providing 1-layered, 2-layered, and multi-layered PCBs on-demand with fast shipping (it usually depends on which location you’re ordering from, it took us 5 days. JLCPCB also offers multiple shipping methods for you to choose from (DHL, UPS, PostLink Registered Mail etc.) You can check them out at https://jlcpcb.com
Use this coupon code EloversJLC at JLCPCB to get Discount
Google Assistant Voice Controlled Switch PICTURE Gallery :
ElectronicsLovers ZERO-IoT-Development Board – ZID-2020
1 comment
thanks for clearing every point
Comments are closed.
Add Comment